OF-EX2 Normal And Challenge Mode
This guide will step through a strategy for clearing OF-EX2 that will work for both the normal and Challenge mode.
If you are looking for other Event information or Operation clear guides, see the following:


Map Information
Environmental Hazards: <Lava Fountains> Spray out lava periodically, dealing damage to friendly units on the surrounding 8 tiles.
We will try to avoid these where we can, and when we can't we need to make sure we have healing support.
There are two main enemy entrances on this map, one on the upper right, and one on the middle bottom.
- Enemies that come from the upper left have primarily low DEF and high RES. We have two major lanes that need to blocked.
- Enemies that come from the bottom middle have primarily low RES and high DEF, except for a few exceptions. It has one choke-point that needs to be blocked.
The primary challenges of this map:
- Blocking all lanes, especially when the enemies emerge that reduce Block by 1
- Healing coverage for all allies taking damage from the Lava Fountains as well as from enemies.
- getting enough of the proper type of damage on the right enemies.
- Dealing with the Heavy Defender and Caster Leaders that emerge from bottom middle towards the end.
Recommended Team Composition
-
2 Block-2 Skill-DP-Recovery Vanguards.
-
1 Sniper. 1 Single Target Sniper is recommended, though any ranged physical DPS may be sufficient if it can be placed quickly enough to support the Vanguard.
-
1 Single Target Caster
-
1 Melee DPS that can do Arts Damage. This can be an Arts Guard like Mousse or Astesia, or a Ranged Guard with Arts damage capability like Lappland or Midnight.
-
1 Melee DPS with high consistent Physical damage and (if possible) high HP or RES to take on the main enemy line and soak some Caster bolts.
-
1 melee DPS that does Physical damage to carry out an assassination mission. An ST Duelist Guard (like Melantha) works well.
-
2 Medics. Any 2 will likely work, ST or AoE, though AoE Medics may have an easier time because of the periodic damage from the Lava Fountains. If using an Arts Guard, 1 must be ST to reach.
-
2 Defenders. Any 2 will likely work, though I found having a Healing Defender for the top-left lane to be useful.
-
1 Flex - Anything will likely work here, though I'd recommend something that can block, as a leak or blocker death is most likely where things may go wrong.
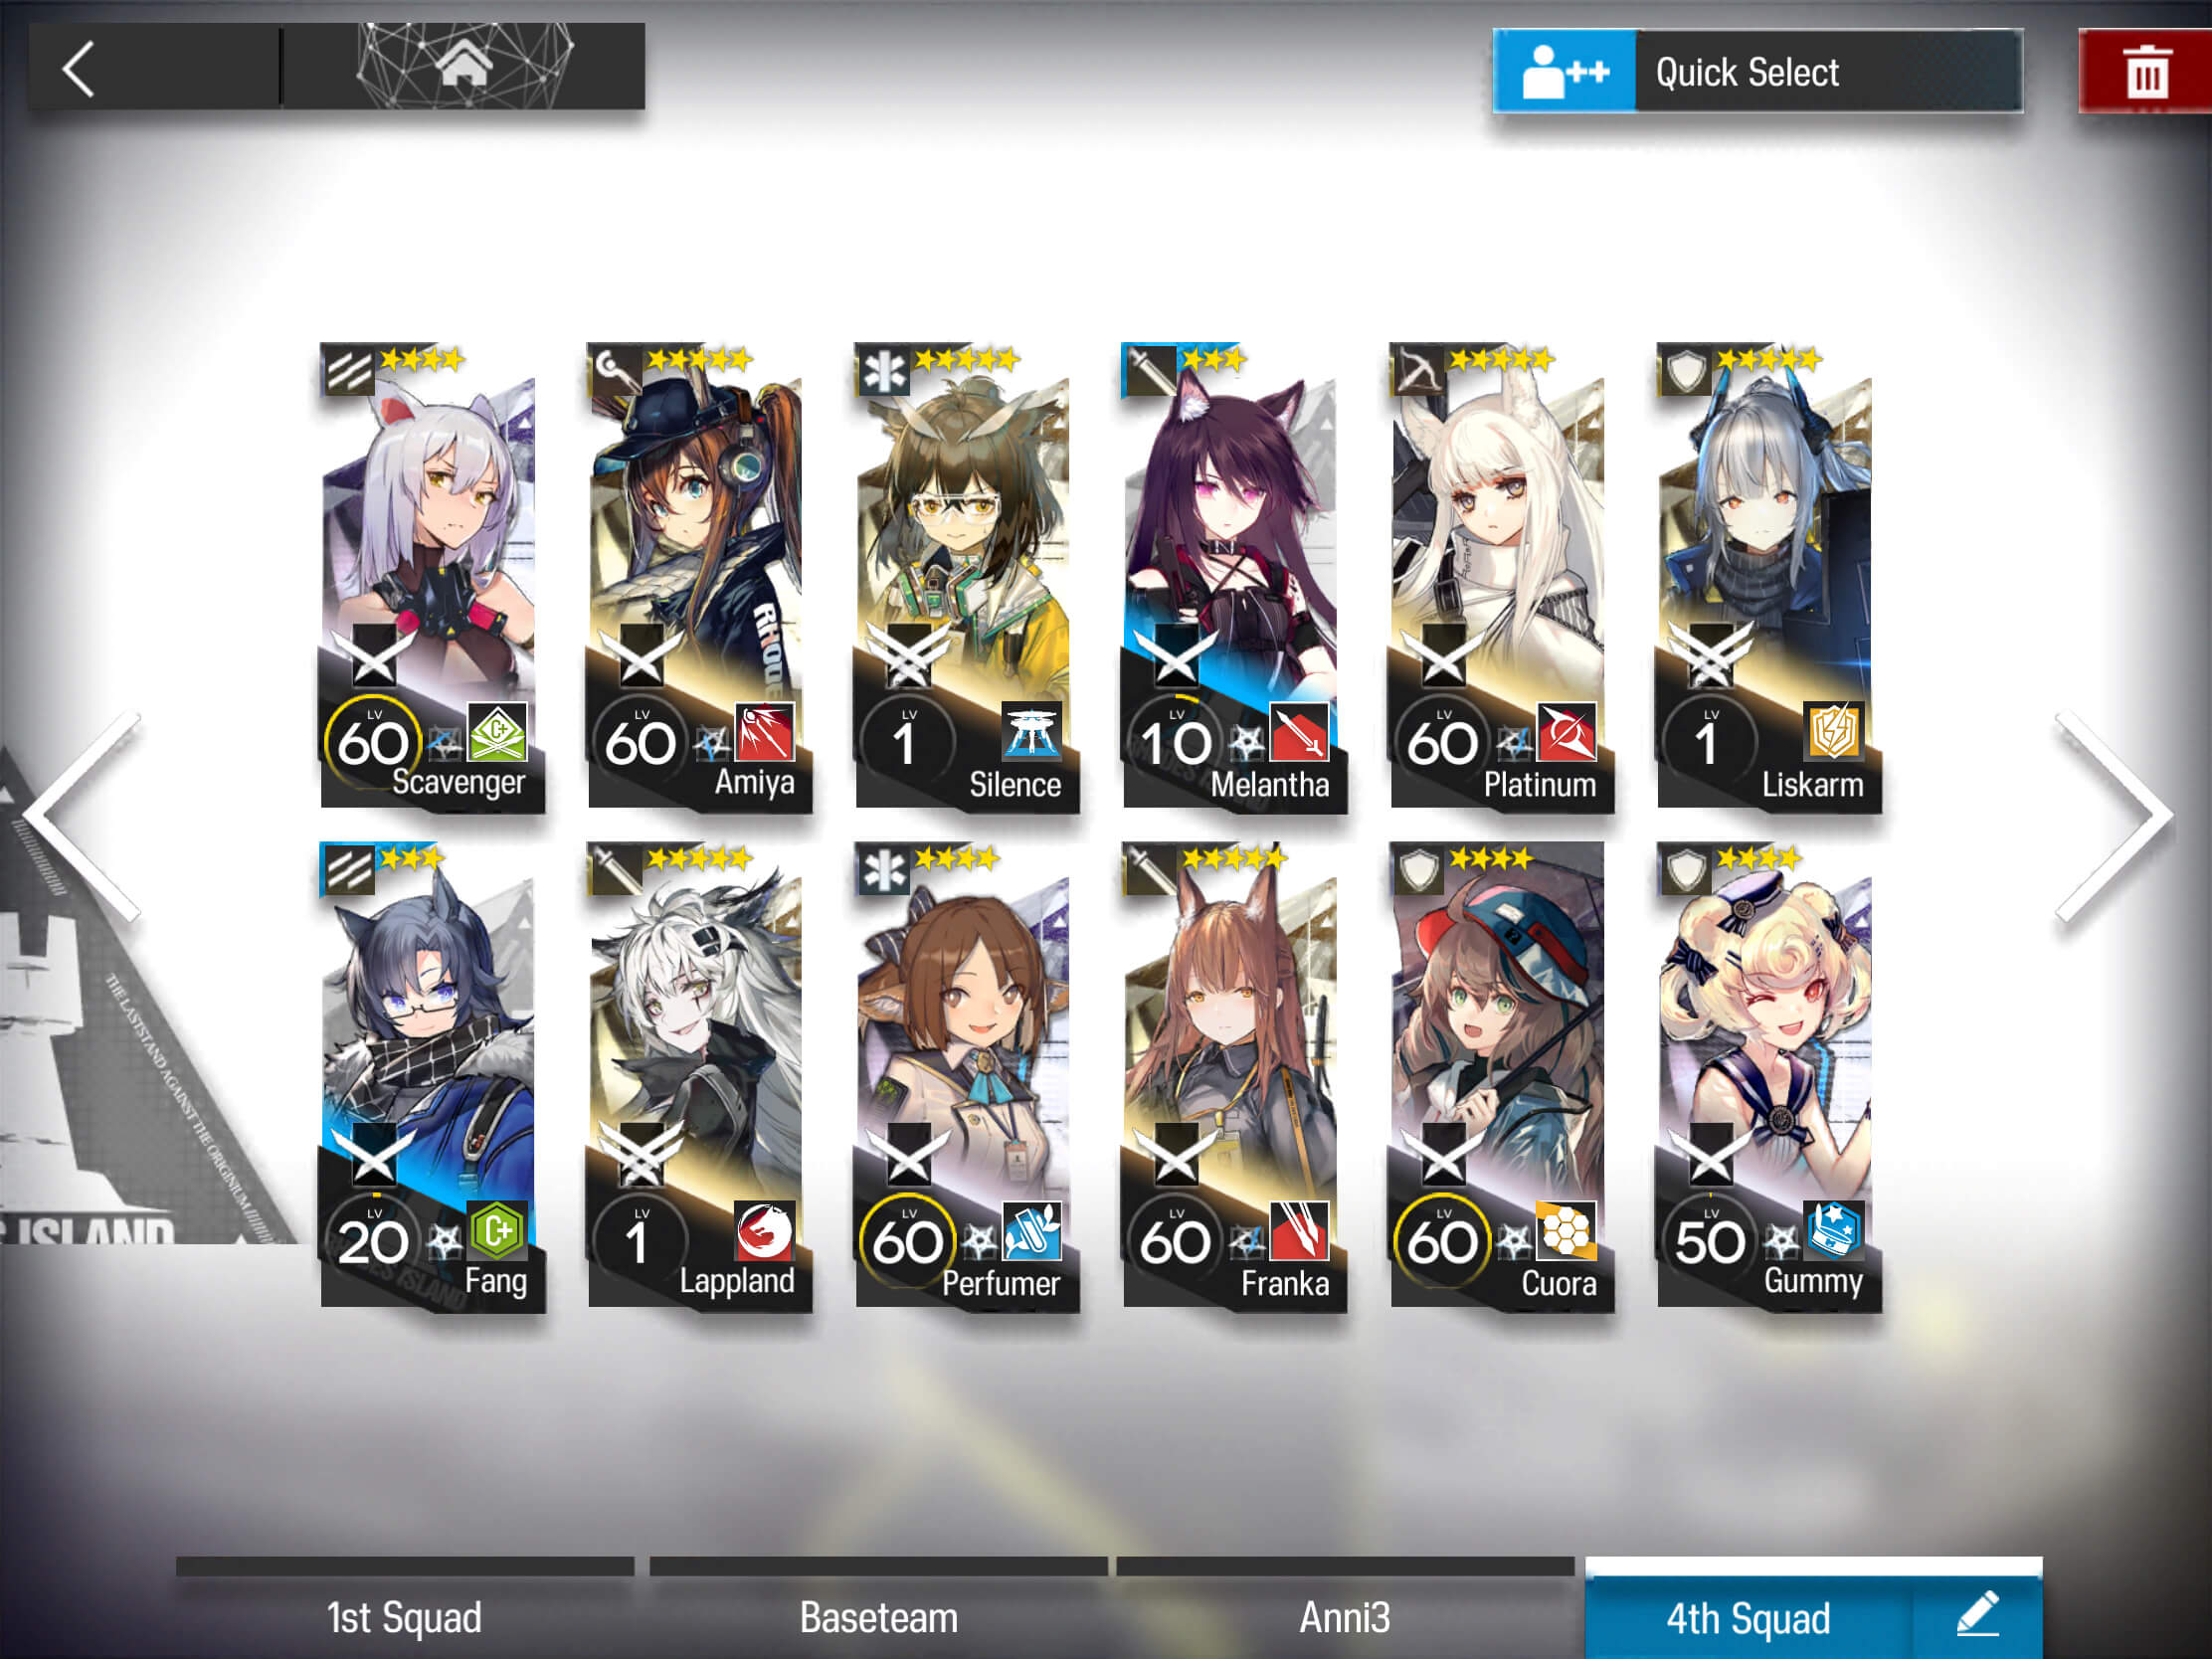
Here is an example of the team I used:
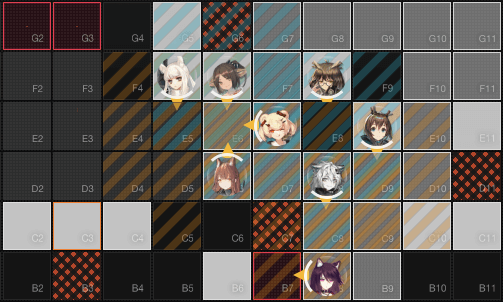
Deployment
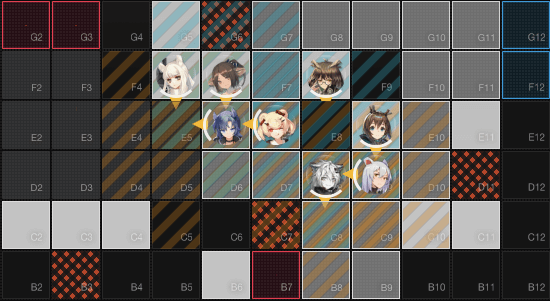
Unit placement can be seen in the image below, and deployment order should be done as presented. Each Operator can be placed as soon as there is sufficient DP.
Deployment Order:
- Scavanger - Skill-DP-Recovery Vanguard
- Fang - Skill-DP-Recovery Vanguard
- Platinum - ST Sniper
- Perfumer - AoE Medic
- Lappland - Block-2 Ranged Guard
- Silence - ST Medic
- Amiya - ST Caster
- Gummy - Healing Defender
- Defender is placed here specifically for 3 reasons
- To allow the Melee physical DPS we are about to place to be able the damage what she is blocking.
- To put her in range of both Medics
- To put her in the path of the circling Heavy Defenders that come out of the bottom.
- Lappland was placed early to help Scavenger. May not be necessary with tougher Vanguards
If you are using an Arts Guard as your Melee Arts Damage, they should be placed in front of the Vanguard in order to both help block, and dps what the Vanguard is blocking that came from the bottom.
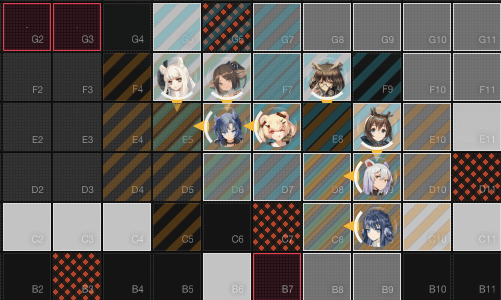
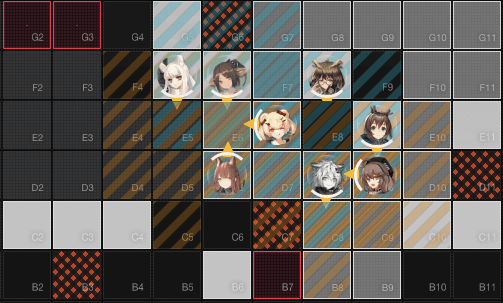
Retreat the left Vanguard and deploy your physical melee DPSer when you have enough DP or before your Vanguard dies. It should now look like this:
- Use healing or defensive cool downs as necessary to keep your Defender and DPS alive against the [Rockbreaker Leaders]
- At about 16 Kills, 2 pairs of [Shielded Guard Leader] will come from the bottom. This is a good time to use DPS cool downs
- At about 25 Kills, the first Heavy Defender will emerge from the bottom. There will be 3 of them. The first 2 will do a loop around the middle island before exiting, but the 3rd will go straight for the exit. i allowed Scavanger to tank them as long as possible until she died, in order to get as much dps on them as possible. Ideally 1 of them dies, but it may not be necessary.
- Once the Vanguard dies, deploy your assassin where necessary to take out the Casters coming from the bottom. If these Casters are not dying before they get past your Vanguard, you will need to retreat your Vanguard to deploy your assassin.
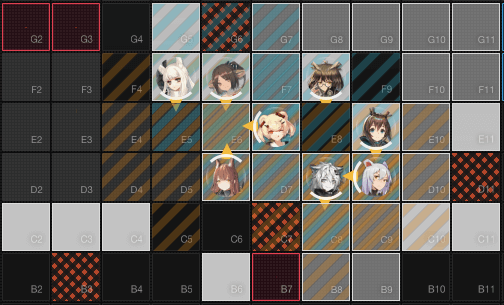
Once the Casters are down, retreat your Assassin (or let her die fighting), and deploy your second Defender.
After that you should be in the clear! You might have to retreat your top Defender and let the [Heavy Defender] pass to get in range of Arts DPS, or retreat and re-deploy an Arts DPS to finish it off.
Enjoy the OP!
* This site was used to create and share the map formations.